Sanding & finishing new pine parquet.
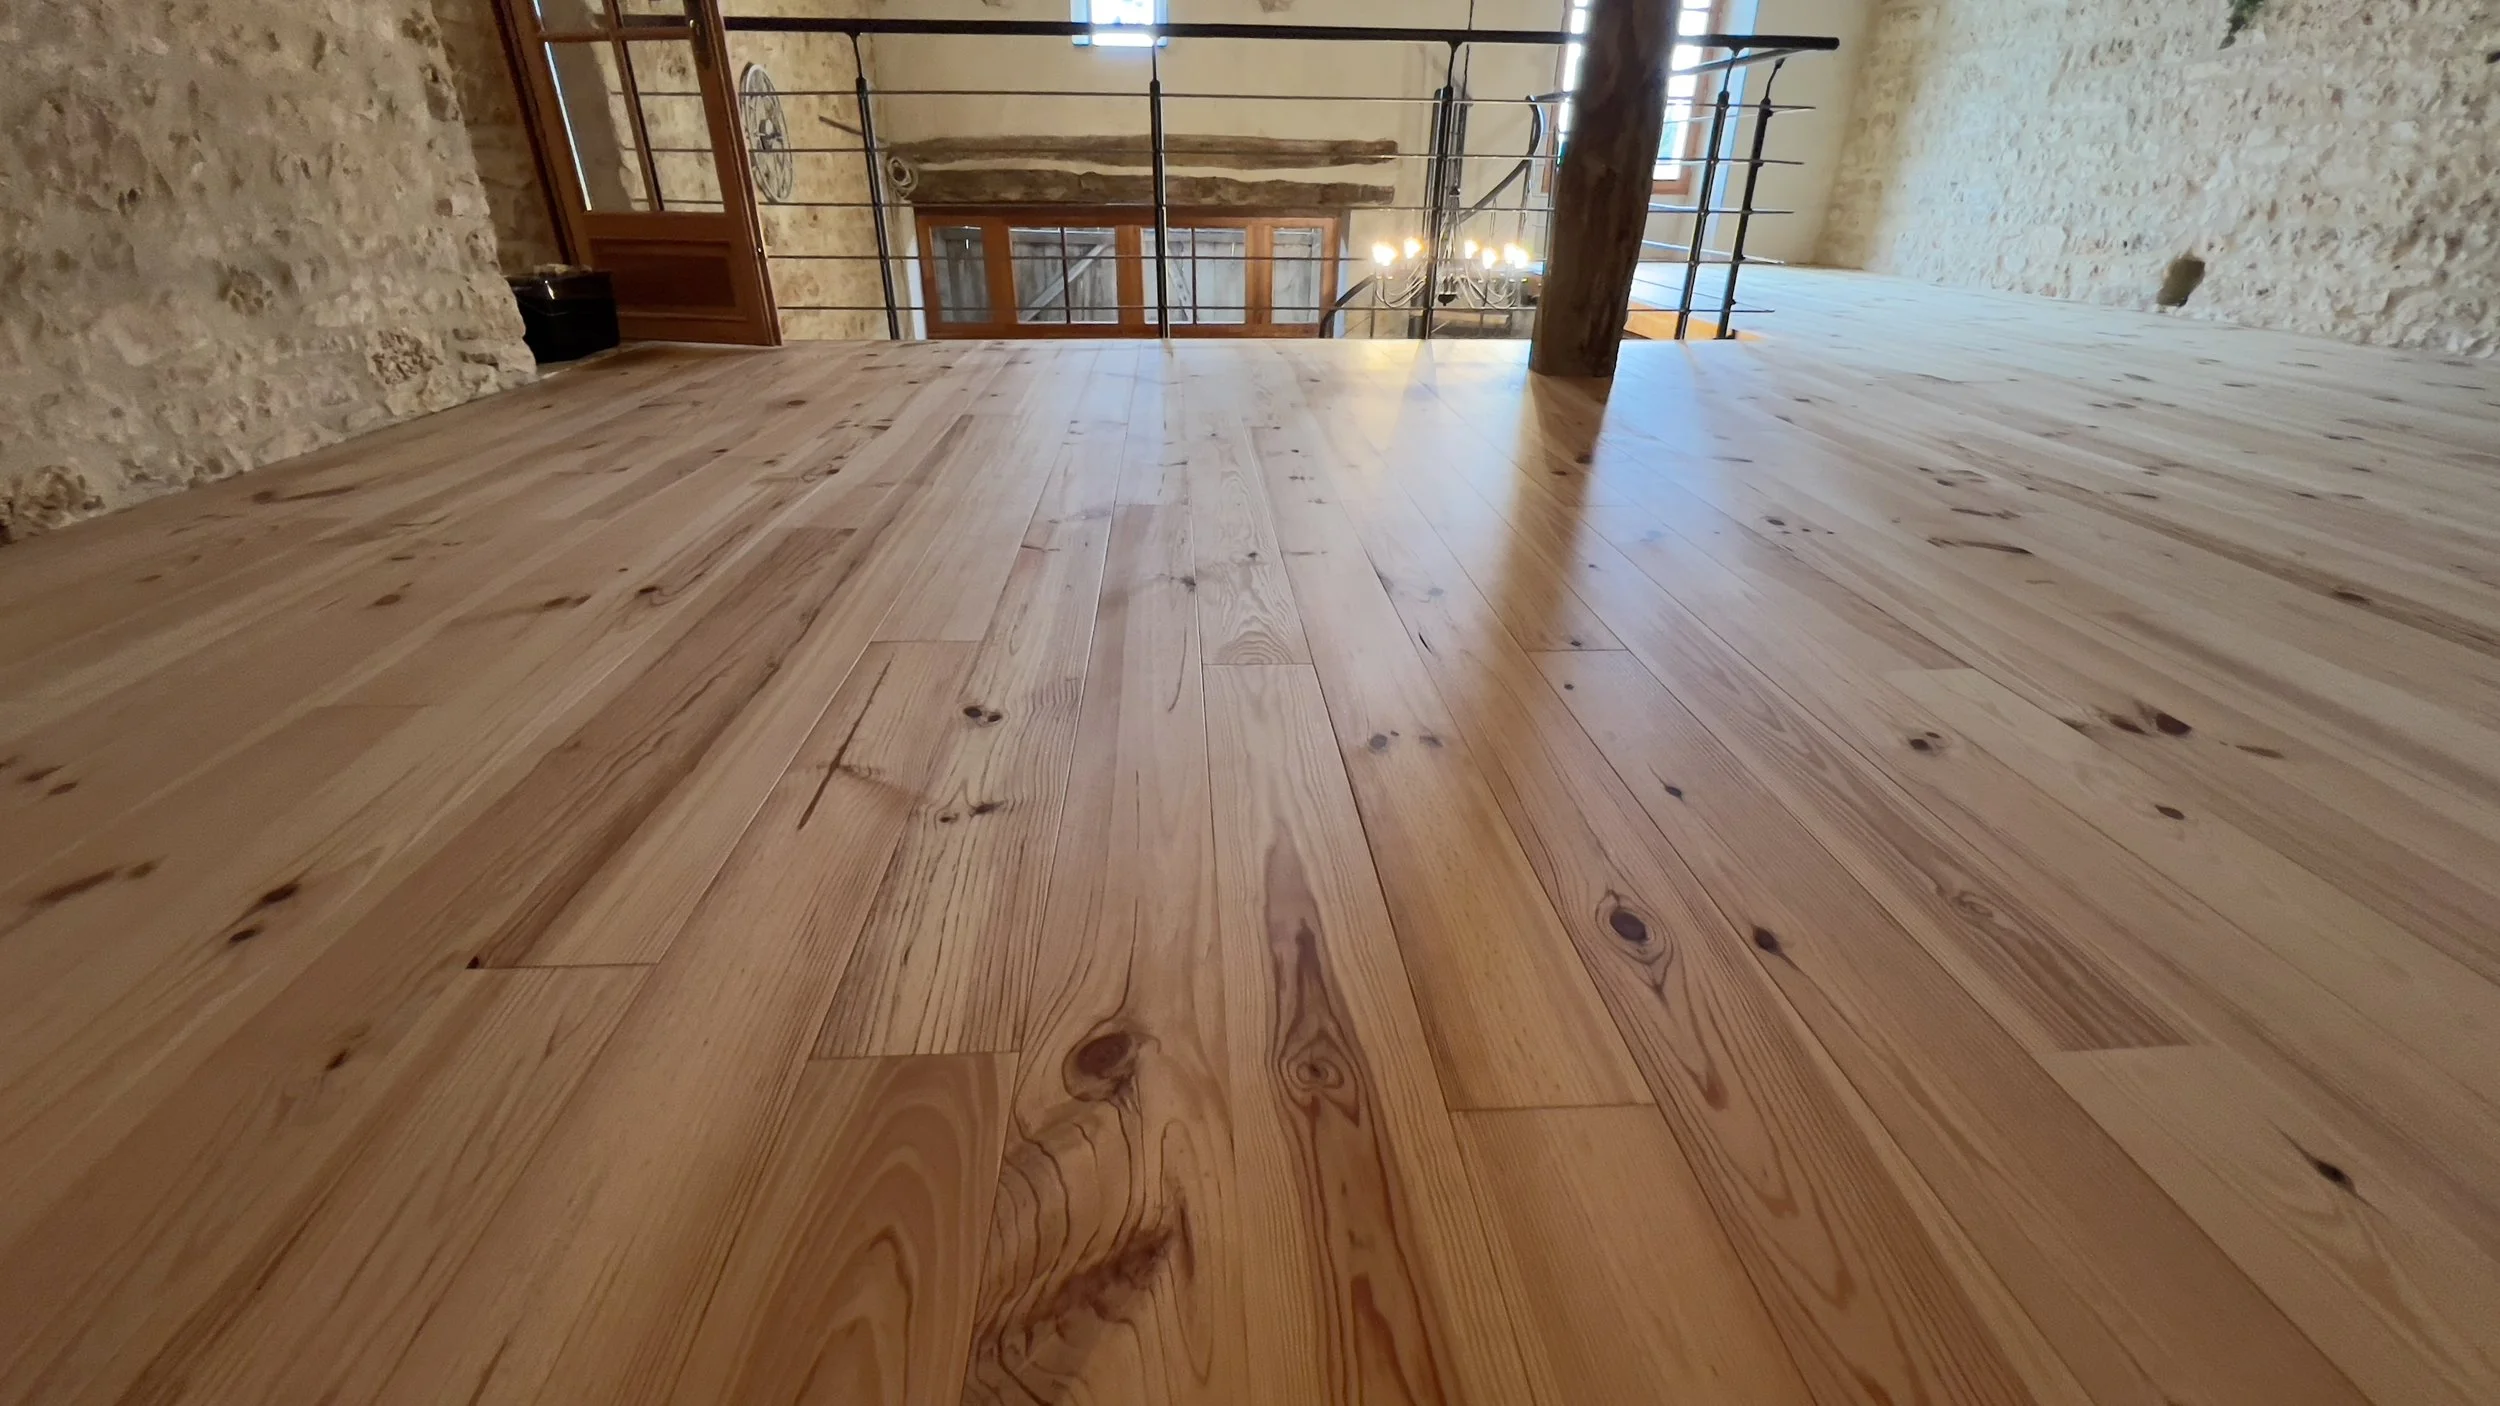
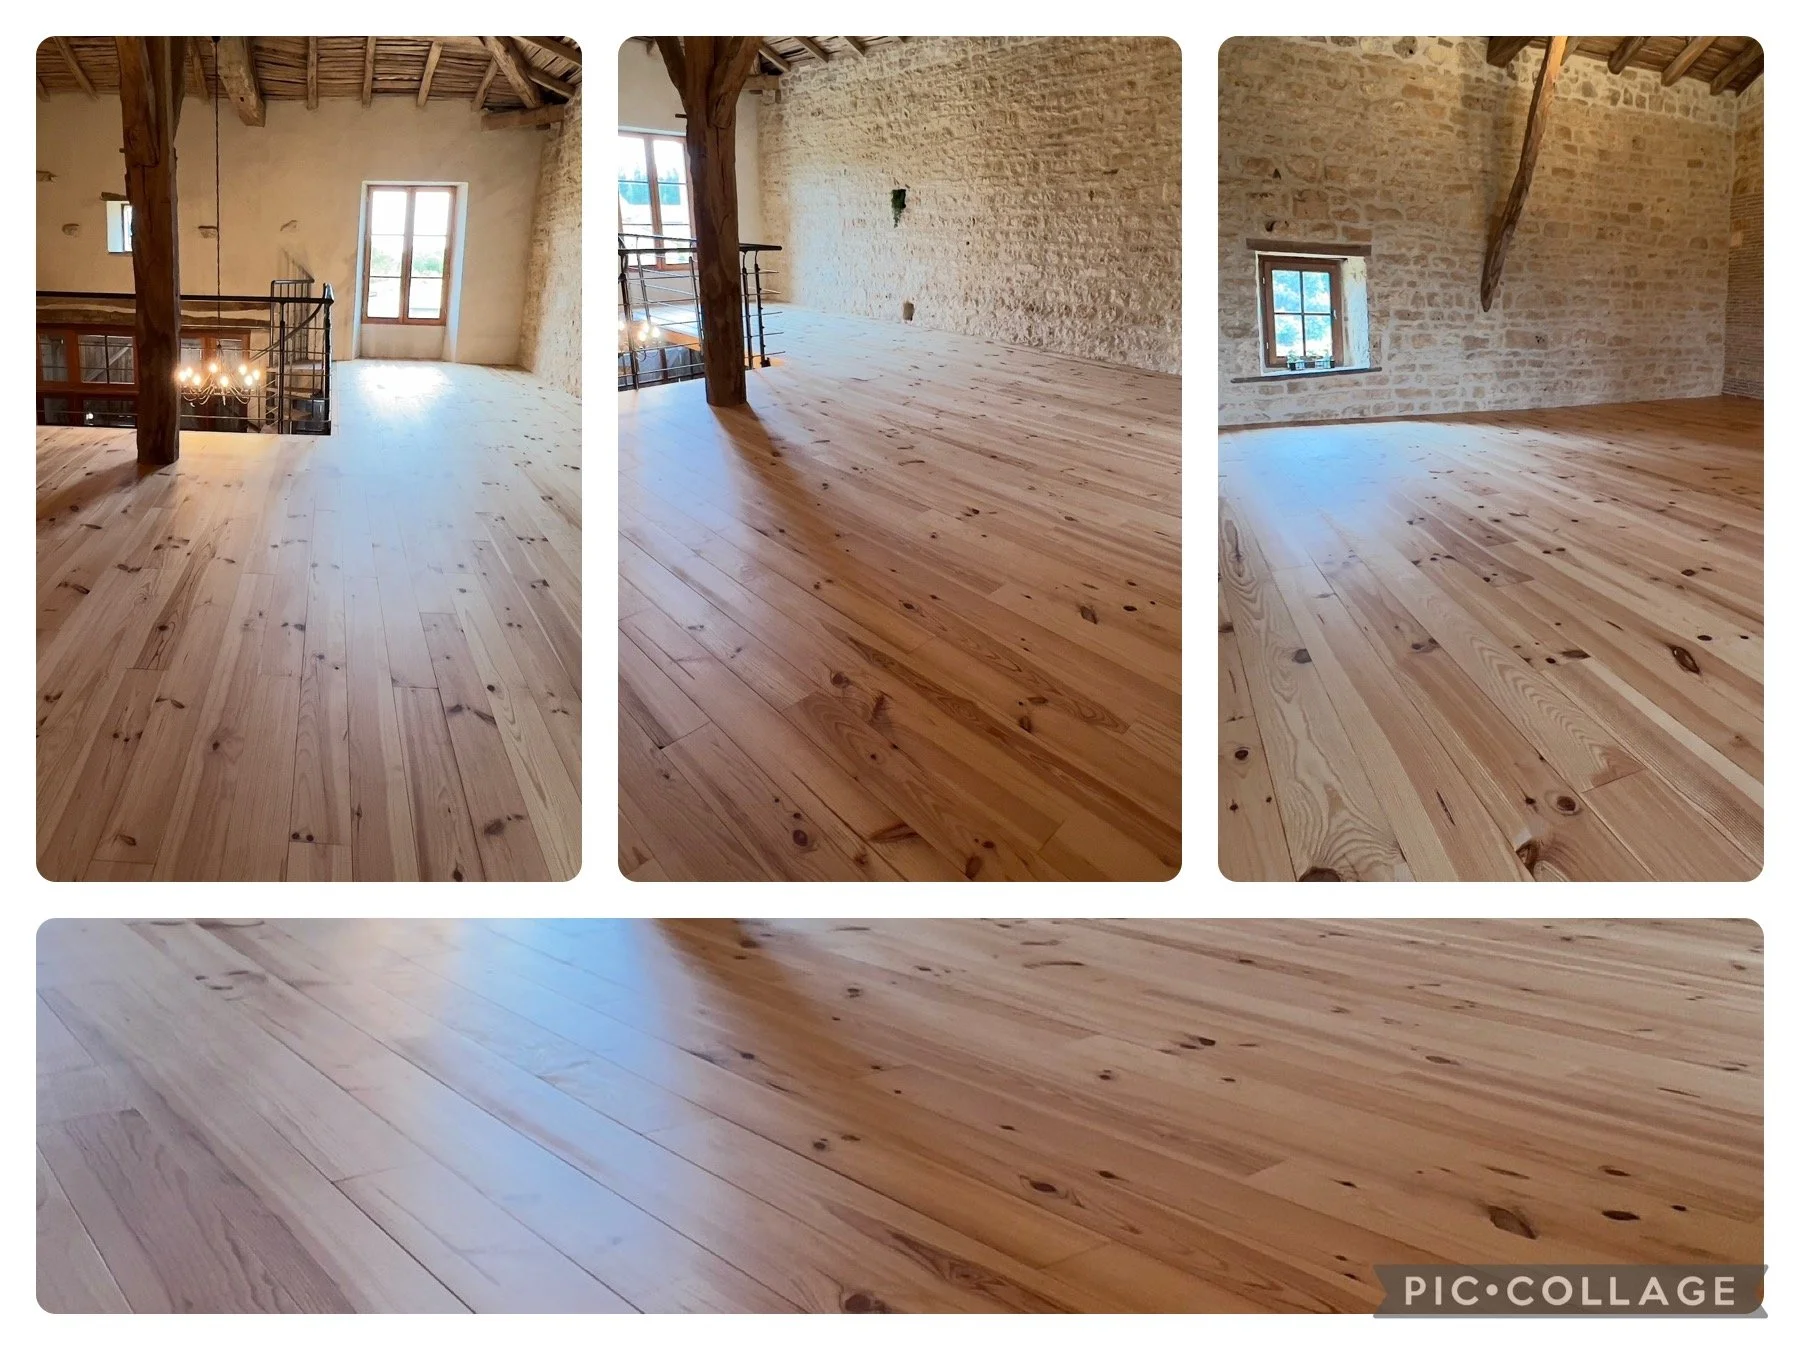
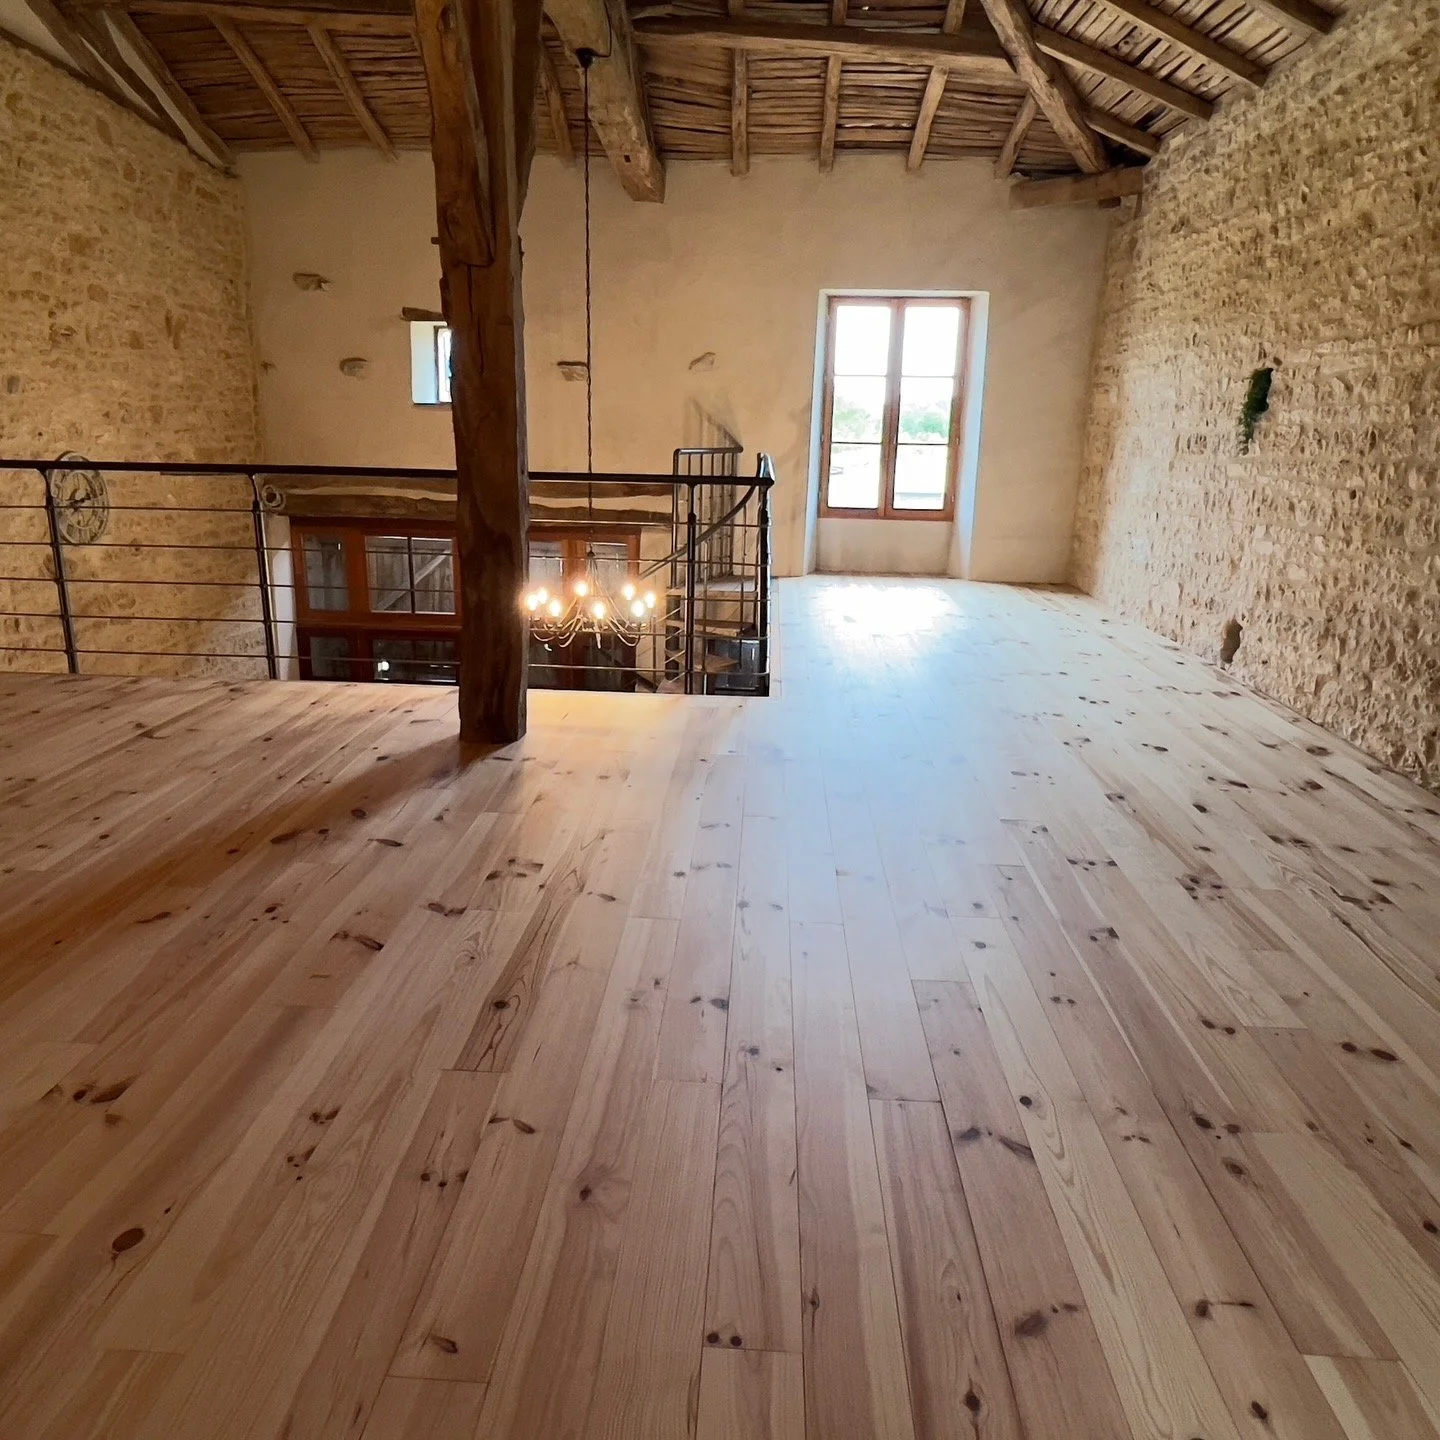
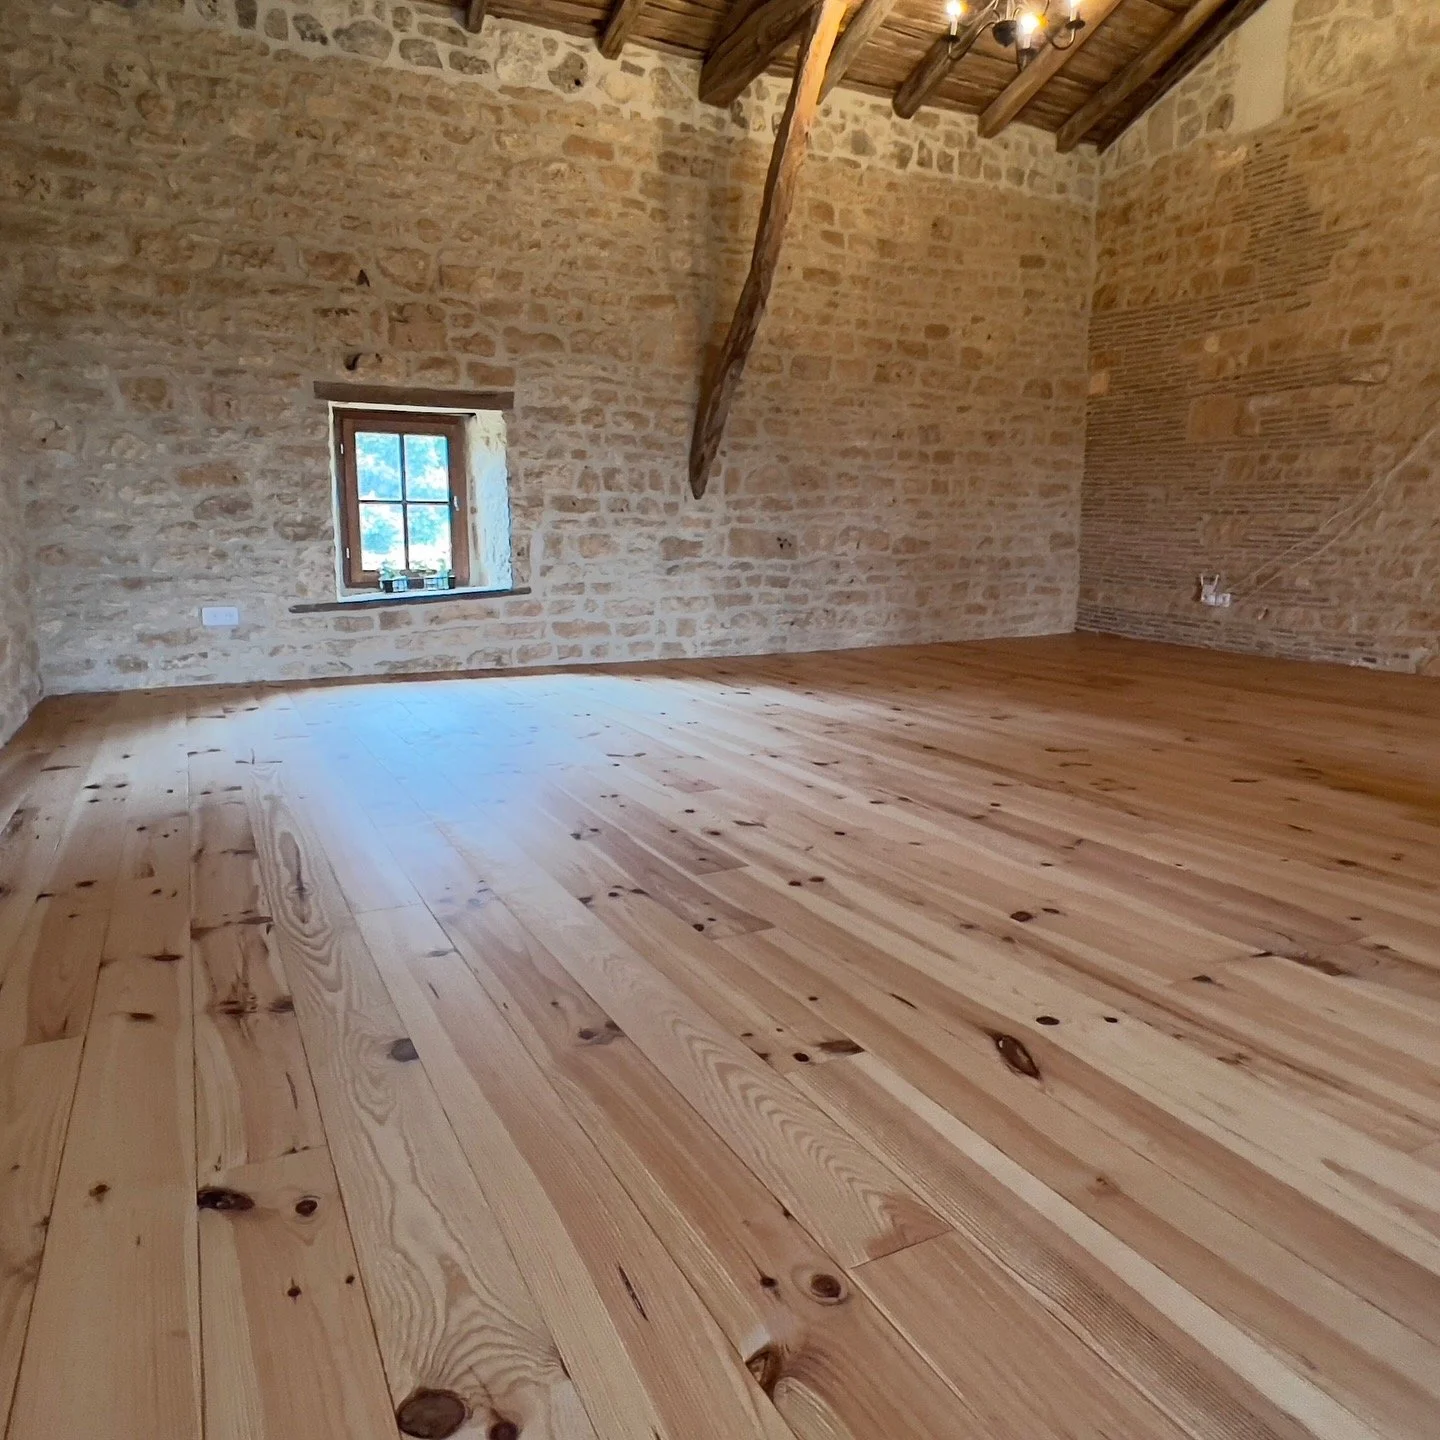
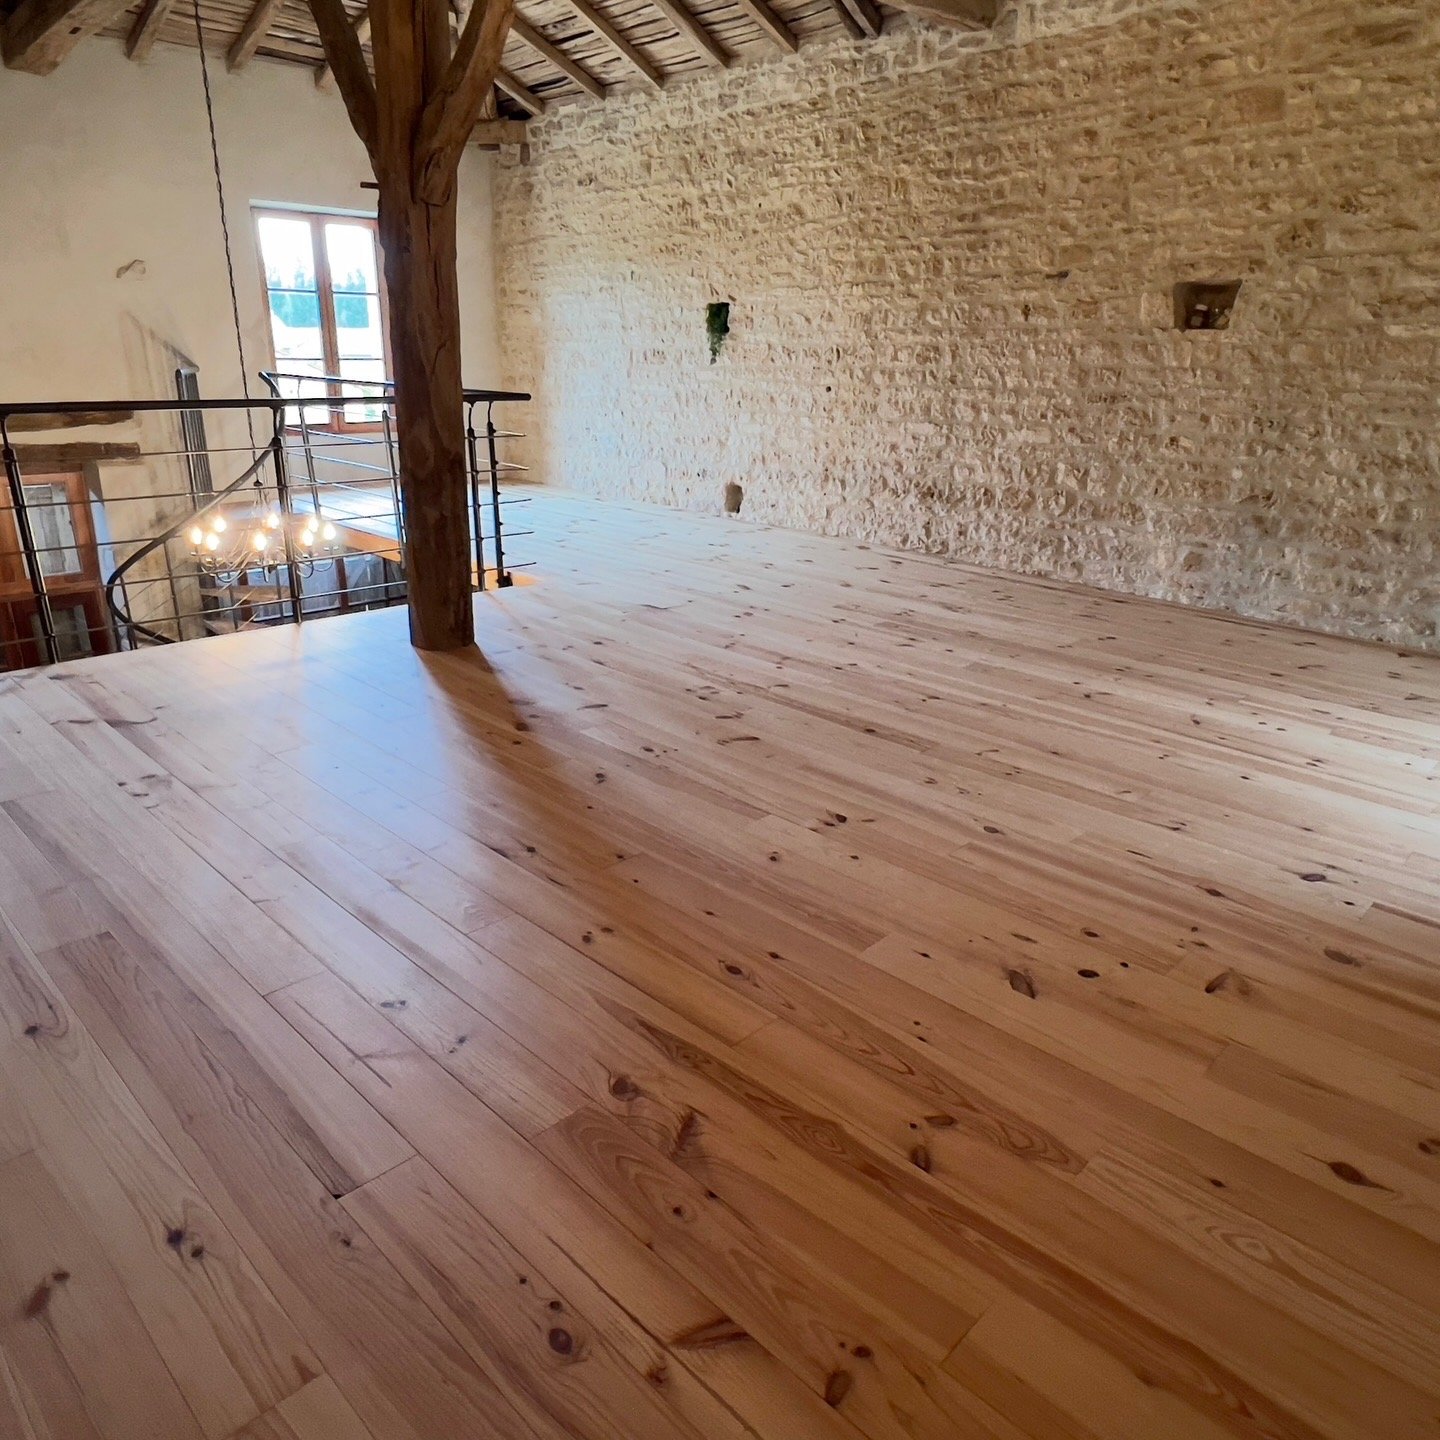
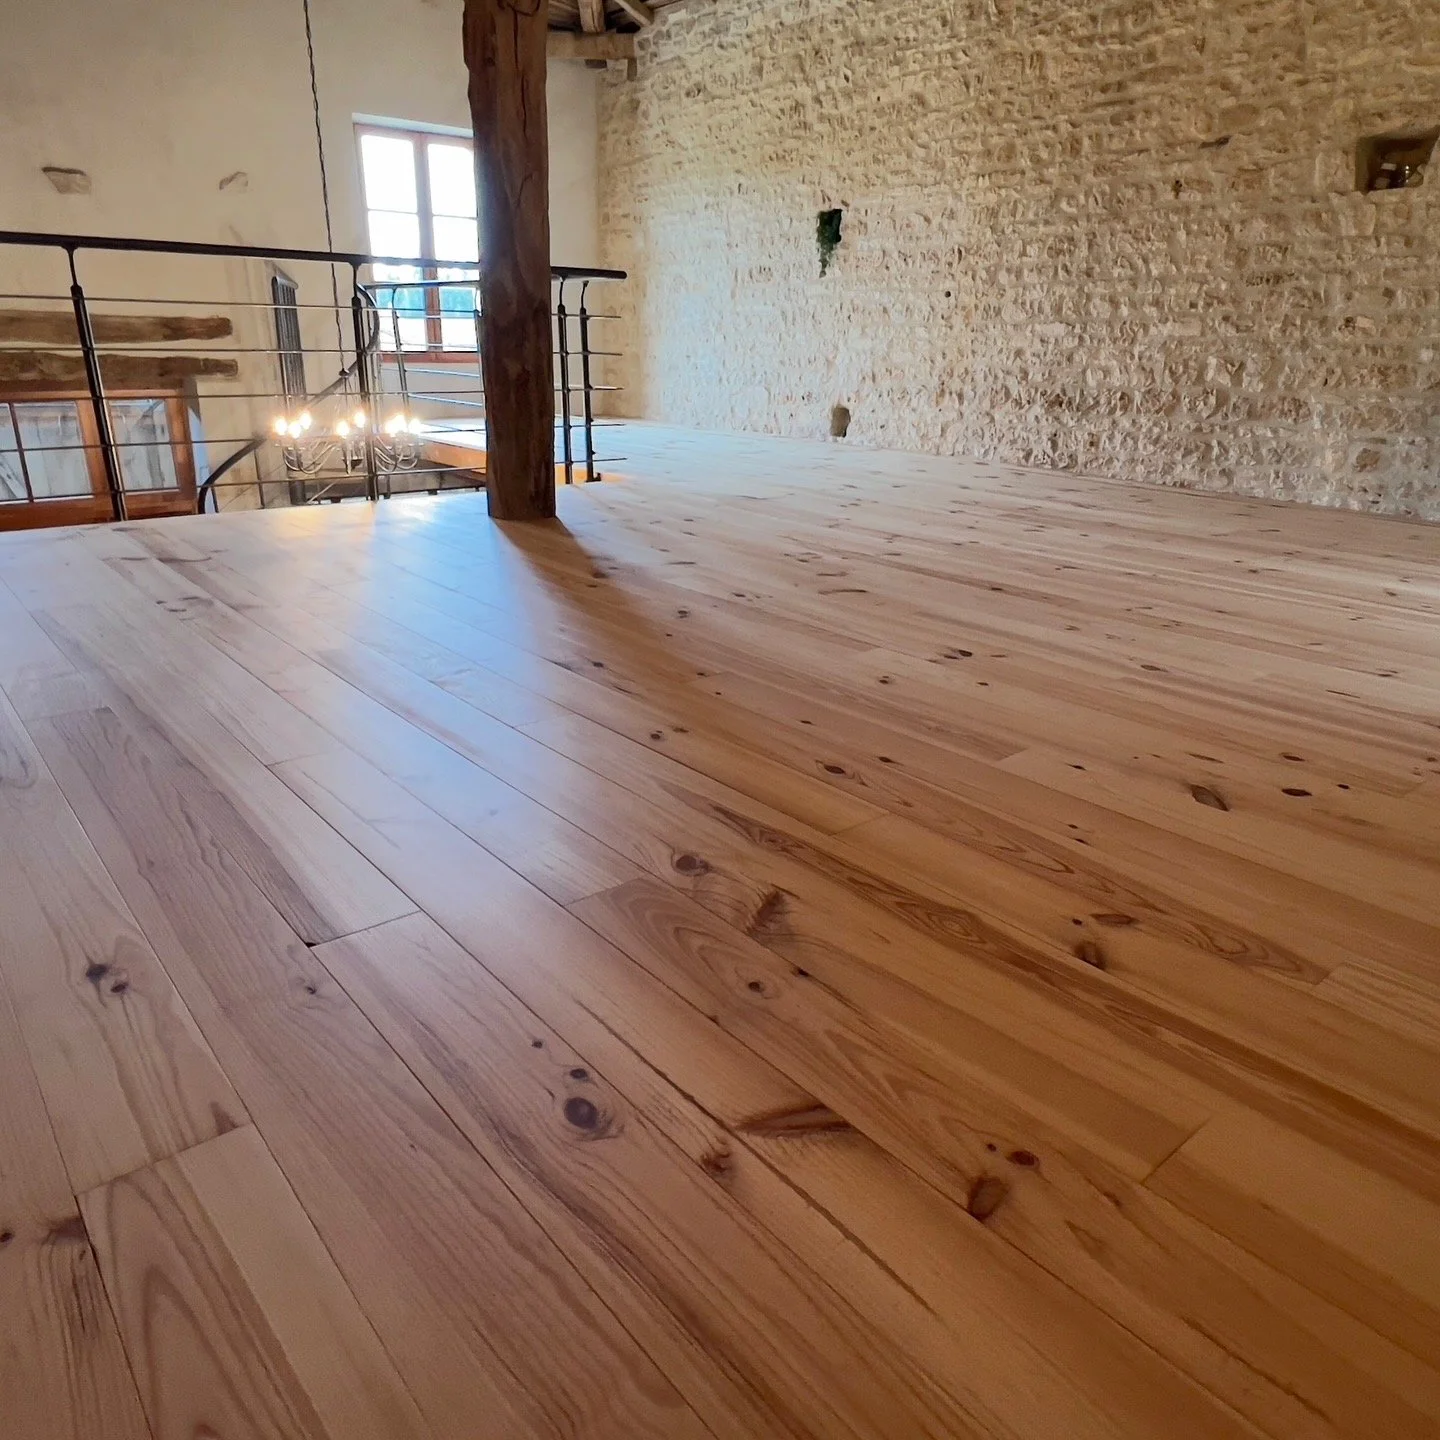
Newly finished pine parquet with Pallmann Ultra Matt vitrification
Sanding and Finishing Pine Parquet: What You Need to Know
Pine parquet flooring can be a cost-effective alternative to hardwood options like chestnut and oak. However, there are several factors to consider when choosing pine, particularly in terms of its finish, durability, and long-term appearance. While pine can provide a beautiful floor, it's essential to understand its unique characteristics and how to properly sand and finish it to achieve the best results.
The Pros and Cons of Pine Parquet
Pros
Cost-Effective Pine parquet is significantly cheaper than hardwood flooring options like Chestnut and Oak.
Availability Pine is widely available, making it a convenient choice for many homeowners.
Cons Pine is a softer wood compared to chestnut and oak, which means it is more prone to dents and scratches.
Variation in Appearance: Due to the high sap content in pine, staining can result in variations in color, especially with lower-grade pine that has more knots and higher sap content.
Common Issues with Sanding Pine Parquet
1.Sap and Staining
Pine’s high sap content can lead to uneven staining, causing color variations across the floor. This is particularly noticeable in lower-grade pine, which has more knots and higher sap content.
2. Sanding Process
Sanding pine requires attention to detail. It’s essential to follow a thorough sanding process, starting with a coarse grit and moving to a finer grit. Skipping grits can result in an uneven finish.
Always finish sanding to at least 120-grit to ensure a smooth surface ready for finishing.
3. Primer Selection
Choosing the right primer is crucial to preventing reactions with the sap in pine. Nordic primers with white flecks can work well but can be technical to apply.
For a more consistent outcome, using a high-quality primer like Pallmann 320 can help mute the natural variations in the wood.
4. Finishing Choices
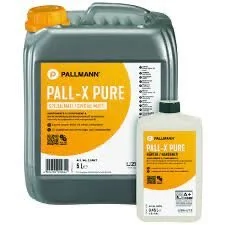
Pallmann Pall X Pure
A great 2k ultra matt finish for wooden floors.
The final finish can greatly affect the appearance and durability of pine parquet. A matte finish is often recommended for pine to reduce the visibility of any sap-related issues.
For this project, we used Pallmann Zero Ultra Matte Finish, which provides a beautiful muted look while protecting the wood.
Recommended Process for Sanding and Finishing Pine Parquet
1. **Installation and Initial Sanding:**
Once the pine parquet is installed, it requires a thorough sanding. Start with a coarser grit and work your way up to 120-grit, ensuring not to skip any grits to achieve a smooth finish.
2. Applying the Primer
Apply a high-quality primer, such as Pallmann 320, to minimize the impact of sap on the final finish. This primer helps in achieving a consistent look across the entire floor.
3. Final Finish
Choose a finish that complements the pine while providing the desired level of durability and appearance. For a natural and understated look, a matte finish like Pallmann Zero Ultra Matte is ideal. This finish helps in minimizing the visibility of imperfections and provides a durable protective layer.
Additional Tips
Maintenance: Regular maintenance is key to preserving the look of your pine parquet. Use appropriate cleaning products and avoid harsh chemicals that can damage the finish.
Avoid Excess Moisture:** Pine is susceptible to moisture, so ensure the floor is well-sealed and avoid excessive water during cleaning.
Professional Help:** Given the technical aspects of sanding and finishing pine parquet, it’s often beneficial to seek professional assistance to ensure the best results.
For more detailed guidance on sanding and finishing pine parquet, feel free to reach out. Our expertise and professional-grade equipment ensure a dust-free, high-quality finish that will keep your pine parquet looking its best for years to come.
**Brad Quarless**
Ébéniste & Parquet Renovator